· 3 min read
Three.js First Steps
Every journey begins with a single step. This is my first step in the world of Three.js. I am following the excellent Three JS Journey course led by the very charming Bruno Simon.
Three.js hides a lot of complexity related to WebGL and provides a simple API to create 3D graphics in the browser. It is a powerful library that can be used to create stunning visualizations.
A typical Three.js project consists of a scene, a camera, and a renderer. The scene in turn contains all the objects that we want to render. The camera defines the perspective from which we want to view the scene. The renderer is responsible for rendering the scene from the perspective of the camera.
An simple scene with a camera and a renderer can be created as follows:
The above code creates a red cube and renders it on the screen. The camera is positioned at (1, -1, 3) and the cube is positioned at (0, 0, 0). Since the camera was moved outside and to the side, we see a red object. As textures and lighting are not yet added, the cube looks like a mangled 2D Shape, but believe me you, it’s really a cube !
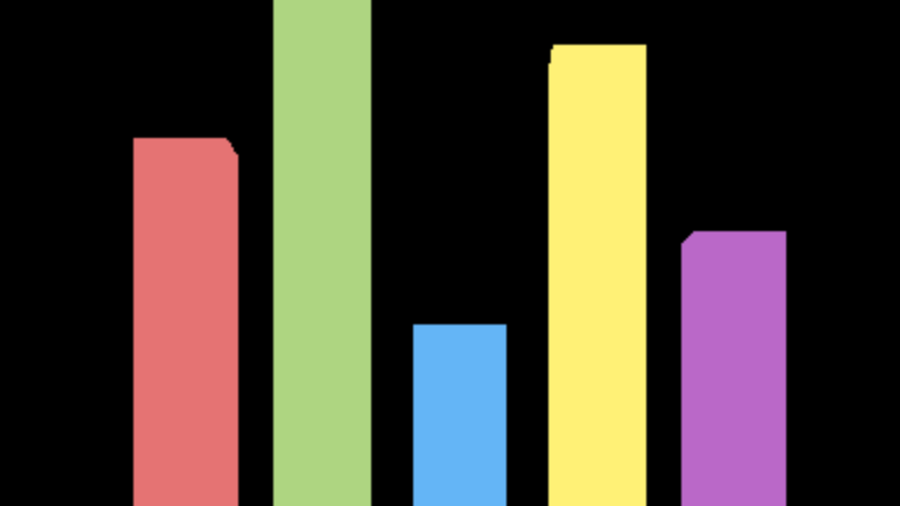
Well if we can add one cube, we can add a few more. Here I’ve added 5 of different heights. Now if we set their y position to be half of their heights. They all line up like bars in a bar chart.
Due to the field of vision of the Perspective camera, the one in the middle looks absolutely flat, but the ones further from the center have a slight perspective.
Sometimes the absence of a thing makes it more noticeable. If we switch the camera to an Orthographic camera, the perspective is removed and all the bars look flat.
And now why stop here, just a few lines of code using the gsap library we can animate the laying out and the height of the bars.
Is it really 3D though? Let’s add some orbit controls and see if we can rotate the scene.
With just 5 lines we get a sweet orbit control that allows us to rotate the scene.
- Import the OrbitControls class from the three js library.
- Create a new instance of the OrbitControls class and pass the camera and the canvas to it.
- Enable Auto Rotate to make the scene rotate automatically.
- Enable damping to make the rotation smooth.
- Call the controls.update() method in the animation loop.
That’s a lot of progress for a few lines of code. I am really enjoying the Three JS Journey course. It’s a great way to learn Three JS. I highly recommend it.